Webhooks allow you to send data to your Home Assistant instance via Home Assistant Cloud. You can use these webhooks for example to trigger automations.
Triggering an automation with a webhook trigger
This tutorial will show you the following:
- How to manually create a webhook.
- How to use this webhook in an automation.
- We will be able to trigger this automation from anywhere in the world and use the data in the trigger.
Prerequisites
- Home Assistant installed and up and running
- Have administrator rights on Home Assistant
- Have a Home Assistant Cloud subscription
- Have Home Assistant Cloud enabled in Home Assistant
To create a webhook trigger and use it in an automation
-
To start creating a new automation, go to Settings > Automations & scenes.
- In the bottom right corner, select Create automation, then, select Create new automation.
-
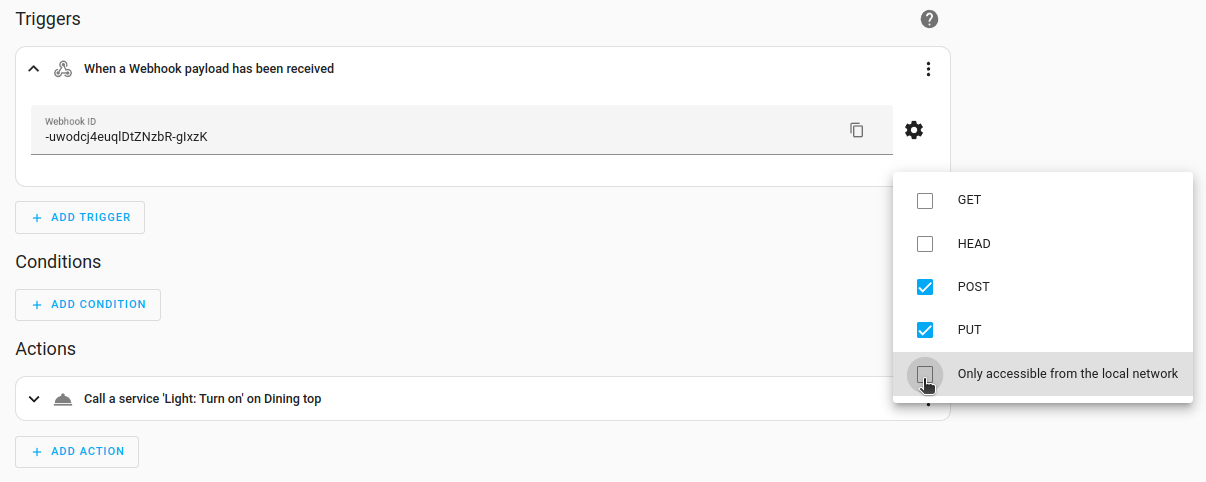
Under Trigger, select Webhook.
- Under Webhook ID, leave the ID as is.
- Select the cogwheel, and make sure the Only accessible from the local network is cleared (de-selected).
- This means your webhook is now accessible via cloud.
- This means your webhook is now accessible via cloud.
-
Under Action, in the Search action field, type "li" and select Light Turn On from the list.
- In the bottom right corner, select Save.
- Your automation is now created.
-
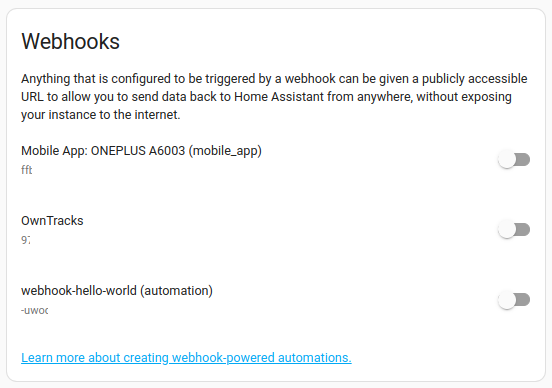
Go to Settings > Cloud and scroll to the webhooks card.
- You will now see your newly created webhook.
- You will now see your newly created webhook.
-
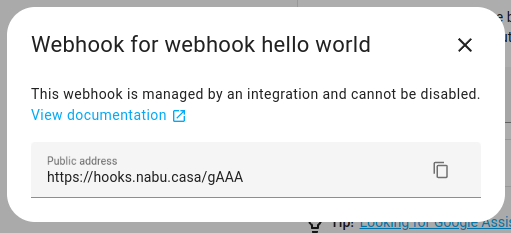
Next to the webhook, select Manage.
- A dialog opens, showing you a unique URL. You can use to this URL to trigger your automation.
- If you're on a Linux or Mac, you can test it out with the following commands:
curl -X POST <the webhook url>- Form data or JSON data sent to the webhook endpoint will be available to templates in your automation as
trigger.dataortrigger.json.
Related topics
- Webhook integration documentation
- Nabu Casa account pricing
- Nabu Casa account log in page
- Enabling Home Assistant Cloud in Home Assistant
Edit this article on GitHub