This article is for developers building Home Assistant integrations that talk to devices over serial or Modbus. With Home Assistant Connect AUX-2, you can connect to your device over the network through an ESPHome serial proxy.
Set up Connect AUX-2 in the ESPHome integration first. Each serial port then appears in Home Assistant as a serial proxy. For cabling, see Controlling devices over serial.
Serial integrations
To use a serial proxy in your integration:
- Use serialx to talk to serial devices. It is a drop-in replacement for PySerial, built for serial communication in Home Assistant. The linked blog post covers migration.
- Use the Serial Port Selector in your config flow. It shows a drop-down list of serial ports, including serial proxies, and updates when new ports become available.
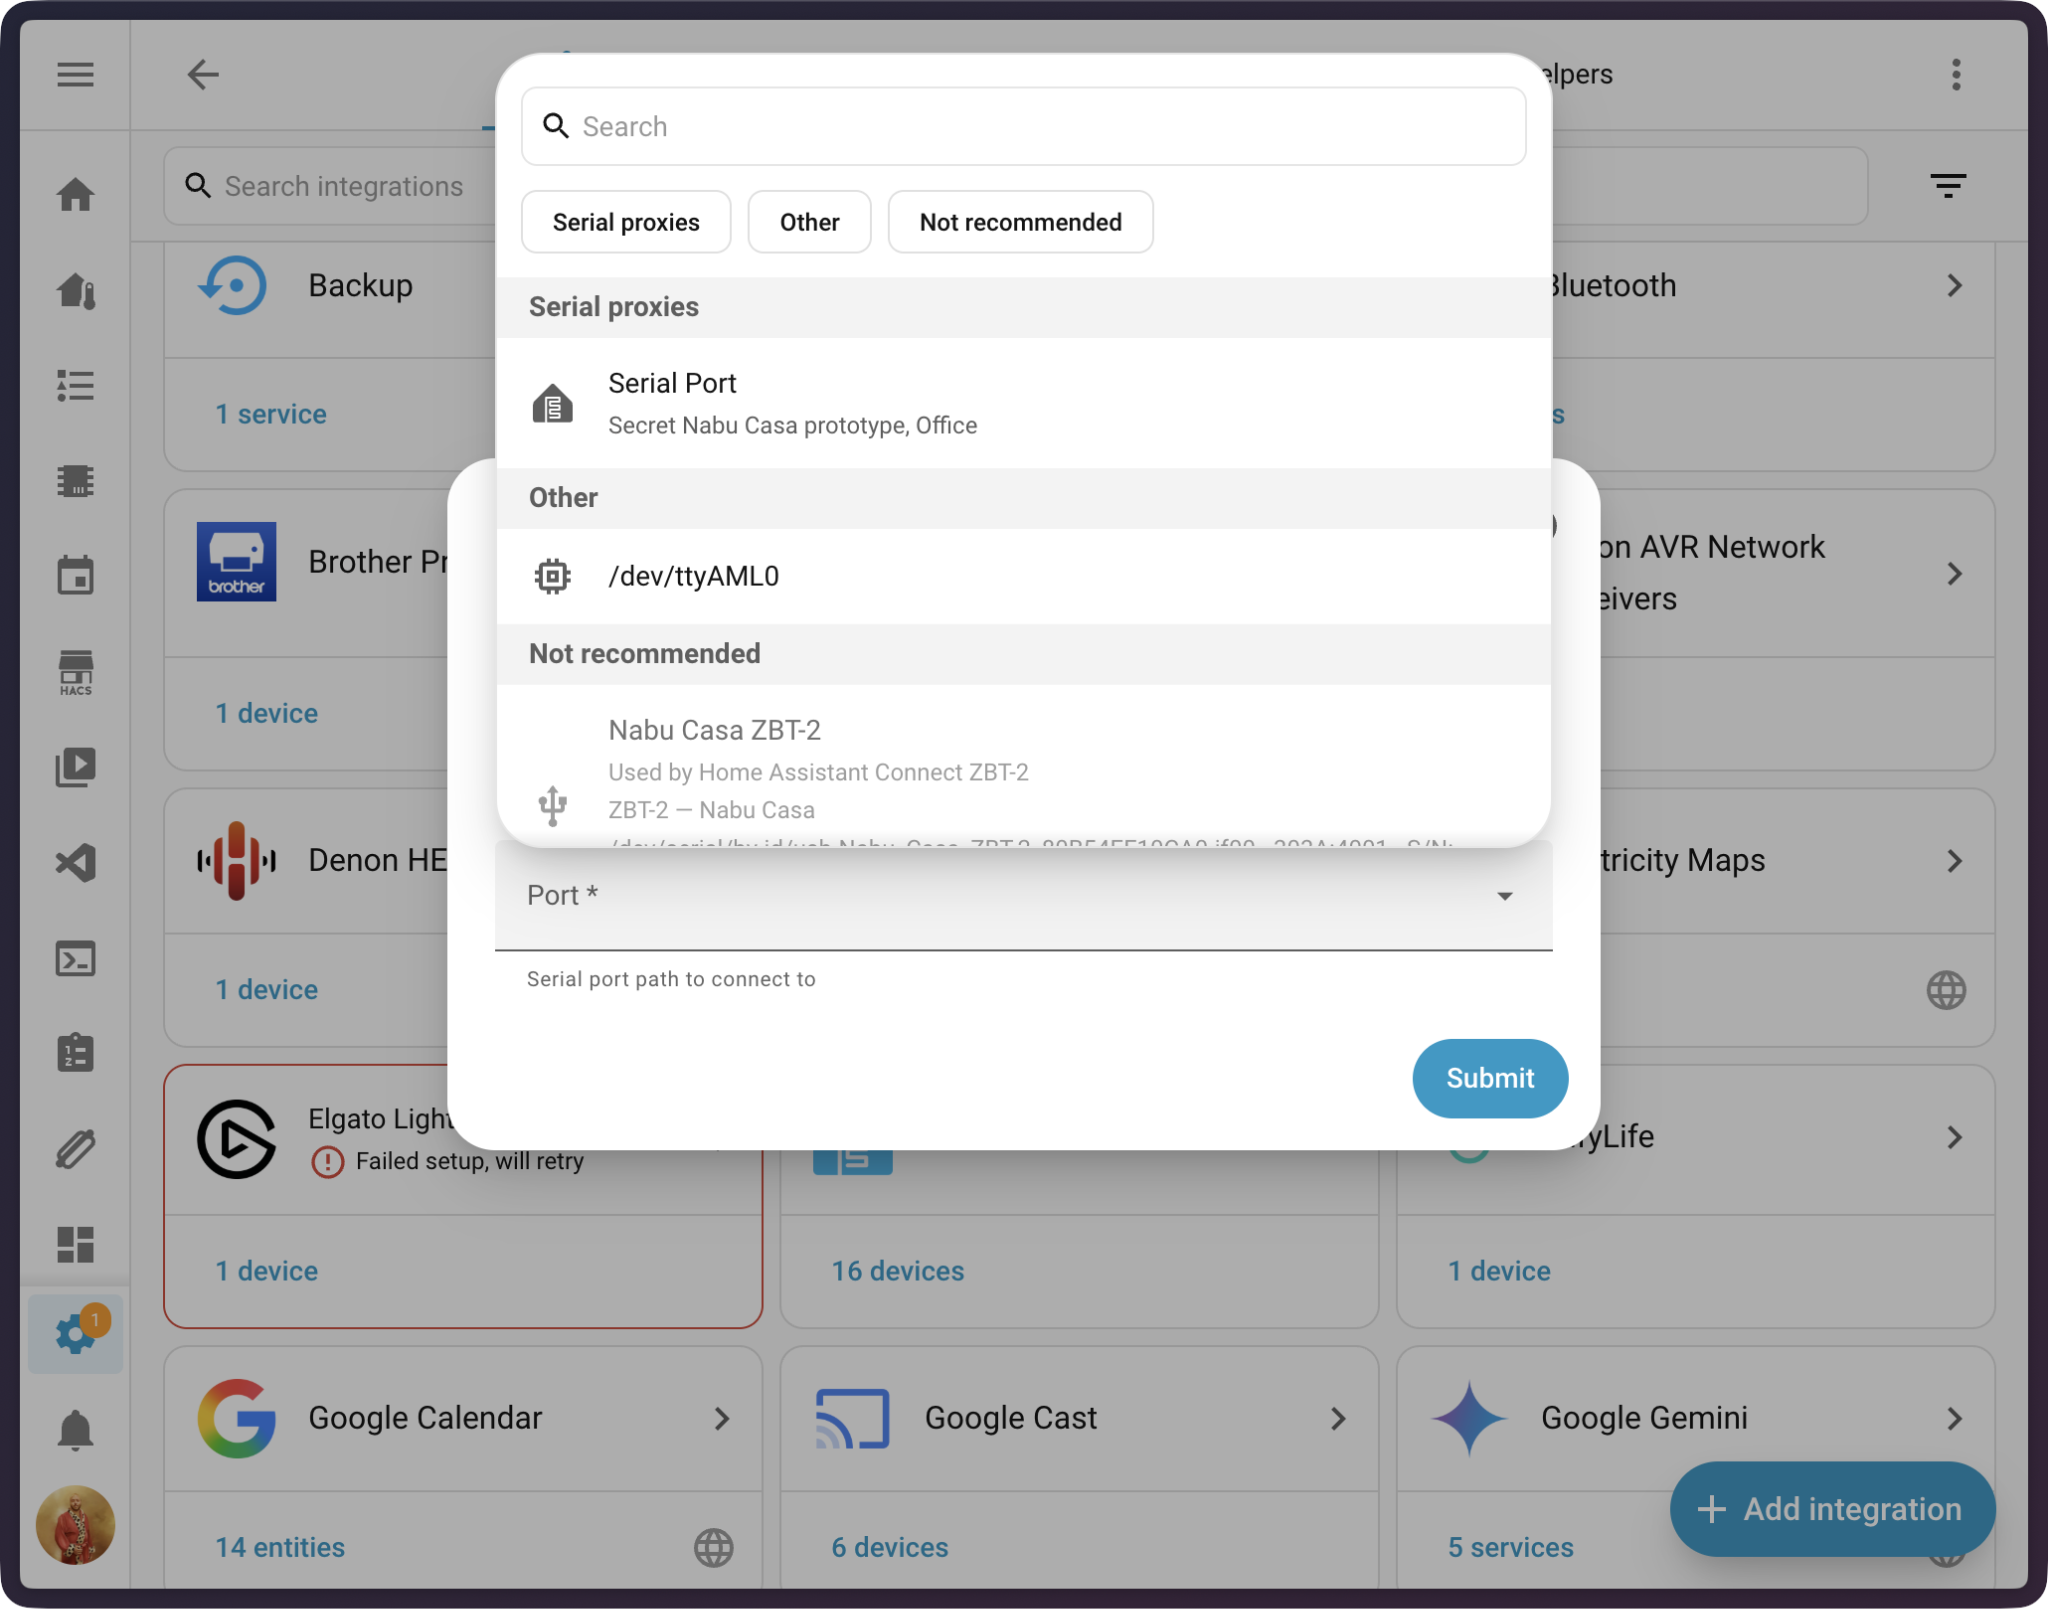
Example library and integration using this pattern:
Modbus integrations
Modbus integrations in Home Assistant can access Modbus devices through ESPHome serial proxies. See the Modbus developer blog post. To wire a Modbus device to Connect AUX-2 and add an integration, see Using Connect AUX-2 with Modbus devices.
To use Connect AUX-2 with Modbus:
- Build your integration with Modbus Connection.
- In the config flow, let the user pick a serial port (serial proxies are included), or connect over Modbus TCP if the user runs a Modbus RTU-TCP proxy.
The Modbus Connection documentation covers both steps in detail:
Using an AI coding agent
If you work with an AI coding agent:
- Serial: give it your device's serial specification and the links to the Denon library and integration above. Ask it to create a library and integration that follow the same pattern for your specification.
- Modbus: give it your device's Modbus specification and the links to the Modbus Connection documentation. Ask it to create a standalone library and an integration that uses that library.
To test your own ESPHome component on Connect AUX-2, see Building ESPHome components.
Edit this article on GitHub