Note: It is very unlikely that reinstalling the Home Assistant OS is necessary. Before going through this procedure, make sure to use the built-in device wipe mechanism.
Prerequisites
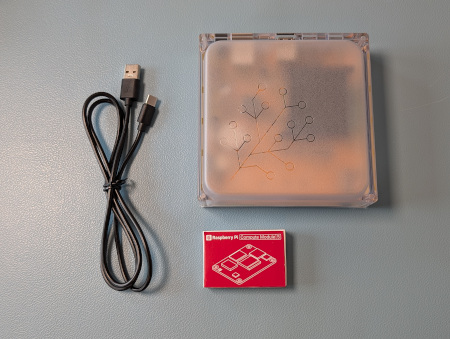
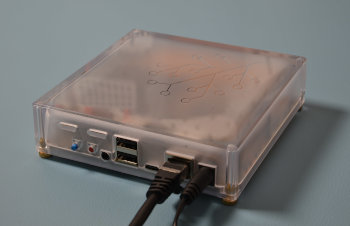
- Home Assistant Yellow with a Raspberry Pi Compute Module 5 installed
- Connected to the Internet
- USB-C cable
- Reset the device
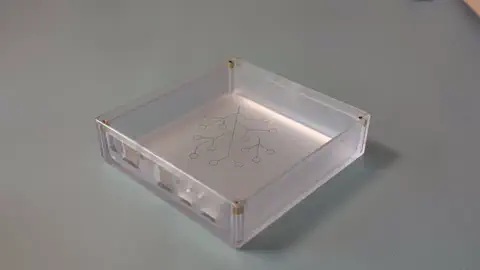
Opening the case

Risk of damage to the equipment due to electrostatic discharge.
Grounding protects the components from the static electricity that can be naturally present (electrostatic discharge, ESD).
- Always: Touch the working surface before touching electronics.
- Ideally: Use ESD protective equipment, such as ESD table mats and grounding cords.

- Remove the 4 screws on the bottom of the Home Assistant Yellow Kit.
- Keep the thumb screws close by; you will need them again later.

- Make sure the interfaces are facing towards your left.
- Flip the case over.
- Slightly lift off the enclosure on your left.
- Slide the enclosure off towards your right.
Running rpiboot

- rpiboot is a command line utility for booting a Raspberry Pi in USB device mode. This is needed because the CM5 cannot boot from the USB 2.0 ports of the Yellow.
- Install rpiboot on your PC.
- Windows: Download and run the Windows Installer from Raspberry Pi GitHub.
- macOS or Linux: Install from source code.
- Install rpiboot, but do not run it yet!
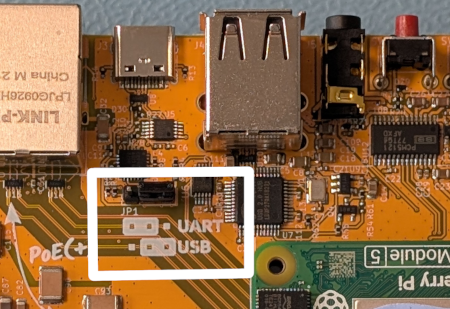
- On the Yellow board, make sure the JP1 jumper is set to USB.
- It may be there by default, but it is worth to double-check.
- Plug-in a USB-C cable to Home Assistant Yellow and connect it to your PC.
- Make sure the cable supports USB 2.0 data.
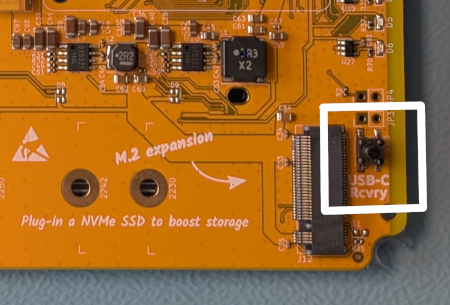
- On the Yellow board, press and hold the recovery button.
- Older Home Assistant Yellow versions: Bridge JP2 (USB-C Rcvry).
- Power up the board.
- Plug in the 12 V DC connector or Ethernet cable (if PoE is used).
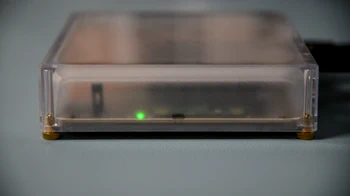
- Only the red LED should be on at this point (solid, not blinking).
- Release the recovery push button.
- Older Home Assistant Yellow versions: Un-bridge JP2.
-
On your PC, run rpiboot and let it run through.
-
If you are using Windows, run "rpiboot-CM4-CM5 - Mass Storage Gadget" from the start menu. It might ask you if you want to reformat the disk. Select Cancel each time.
-
If you are running an Apple Silicon mac, before running
rpiboot, make sure you open the terminal using the “Rosetta” compatibility mode. -
If you are using Linux or macOS, use the following command to run the tool.
sudo ./rpiboot -d mass-storage-gadget64
-
-
After a few seconds, the yellow LED on the Yellow board should start blinking.
-
Afterwards, only the green LED should be on.
-
The module is now ready to have the Home Assistant Operating System installed on it (next steps).
-
Troubleshooting: If this step didn't work, remove power from the system and repeat step 3.
Installing Home Assistant Software on CM5

- Install the Raspberry Pi Imager on your computer as described under https://www.raspberrypi.com/software/
- Info: If your platform doesn't support the Raspberry Pi Imager, you can use another imager (for example, balenaEtcher) and flash the Home Assistant OS Installer for Yellow directly from GitHub releases.
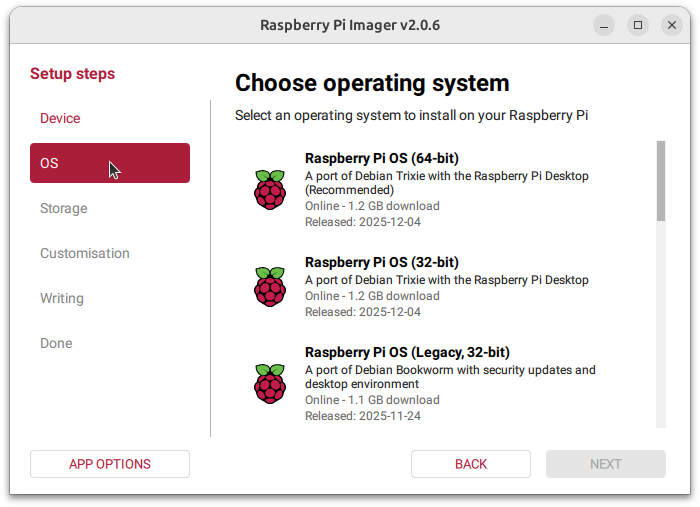
- Under Setup steps, select OS.
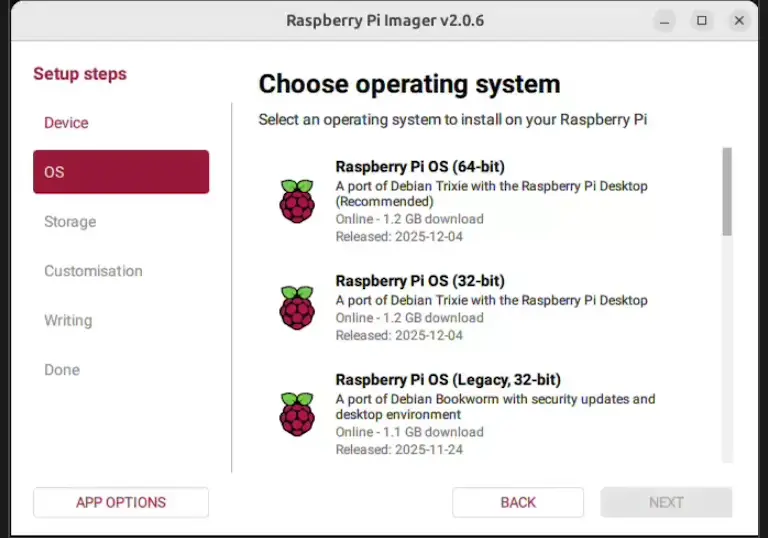
Choose the operating system:
- Choose Other specific-purpose OS.
- Choose Home automation.
- Choose Home Assistant.
- Choose Home Assistant OS x.y (Yellow).
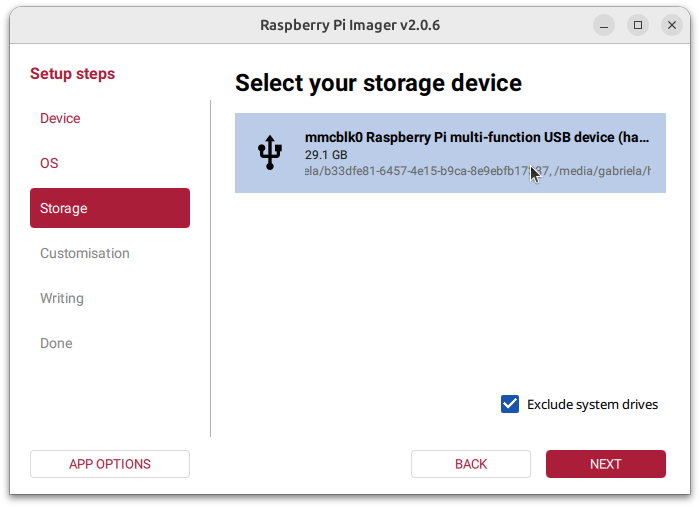
- Under Storage, select your Raspberry Pi module.
- Select Next.
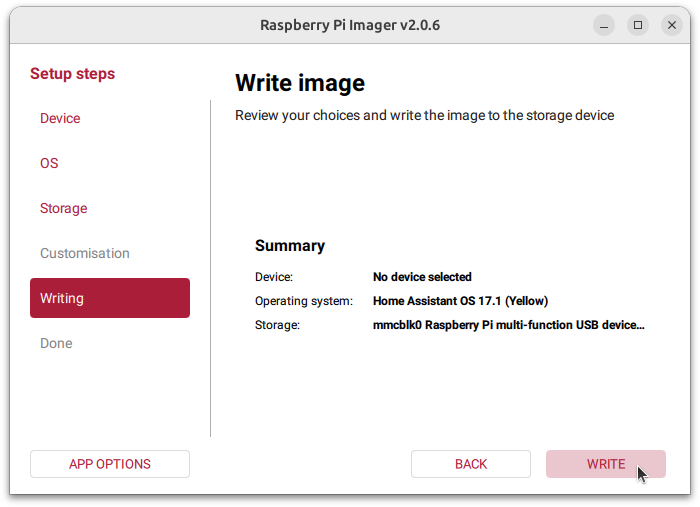
- Select Write to start the process.
- Wait for the Home Assistant OS Installer to be written to the internal eMMC storage on your module.
- Follow the wizard.
- When the steps are complete, close the rpi-installer.

- Unplug the USB cable.
- Unplug the power cable.
- Set the JP1 jumper to UART.
Reassembling Home Assistant Yellow
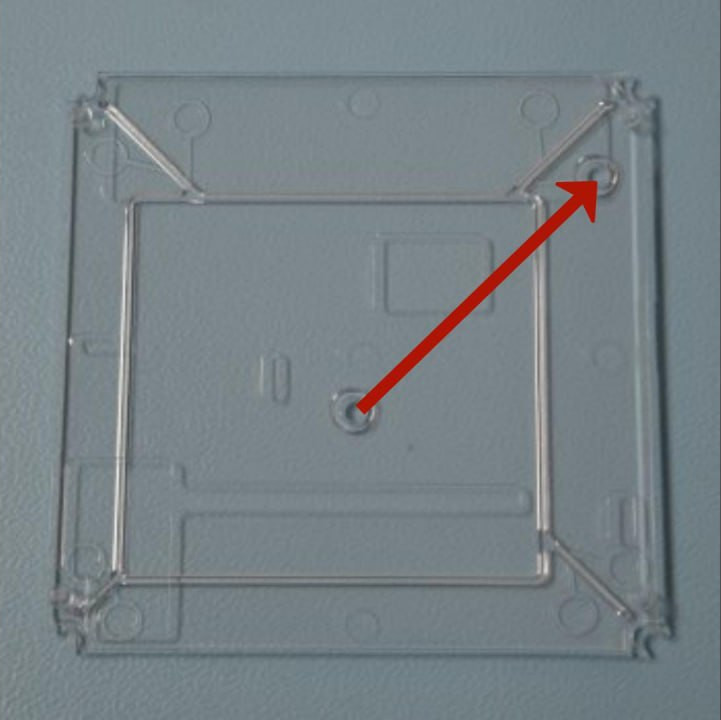
- Place the translucent bottom part of the case onto the table.
- Make sure the two round notches form a line pointing towards the top right corner.
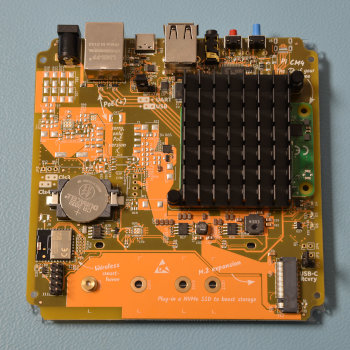
- Place the board onto the bottom part of the case.
- Make sure the USB connectors are facing upwards, away from you.
- Turn the enclosure upside down.
- Then, slide the push buttons into the openings of the case.
Risk of damage to the equipment due to excessive force
- Do not over-tighten the screws.
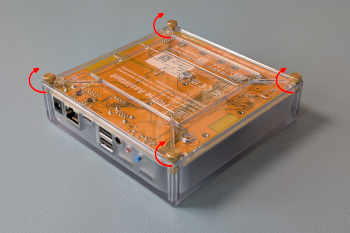
- Insert the 4 thumb screws.
Setting up
- Plug in your Ethernet cable and make sure it is locked into place.
- The other end of the Ethernet cable will need to be connected to your router or switch and connected to the internet.
- If you are not using PoE, connect the power to the wall and then to the Home Assistant Yellow.

-
Get started with Home Assistant.
-
Initial startup may take a while, depending on your internet connection.
-
Install the app.
To access Home Assistant from your mobile device, use the QR code to locate the app in the app store.
-
Select your Home Assistant server.
Mobile: Confirm the IP address detected by the app. For example
http://192.168.1.196:8123Desktop: Visit http://homeassistant.local:8123 to access the Home Assistant user interface.
-
The Home Assistant user interface guides you through the initial onboarding.
-
For further information, refer to the instructions provided under https://www.home-assistant.io/getting-started/onboarding/.
-
Related topics
- Reset the device
- rpiboot Windows Installer from Raspberry Pi GitHub
- rpiboot for macOS and Linux from source code
- RPI imager from https://www.raspberrypi.com/software/
- Onboarding Home Assistant
Edit this article on GitHub